How to upload a list to Filter Clients
Filter Clients is a feature whereby you can upload a list of end-client domains, either as a CSV or comma-separated, which then enriches those domains with:
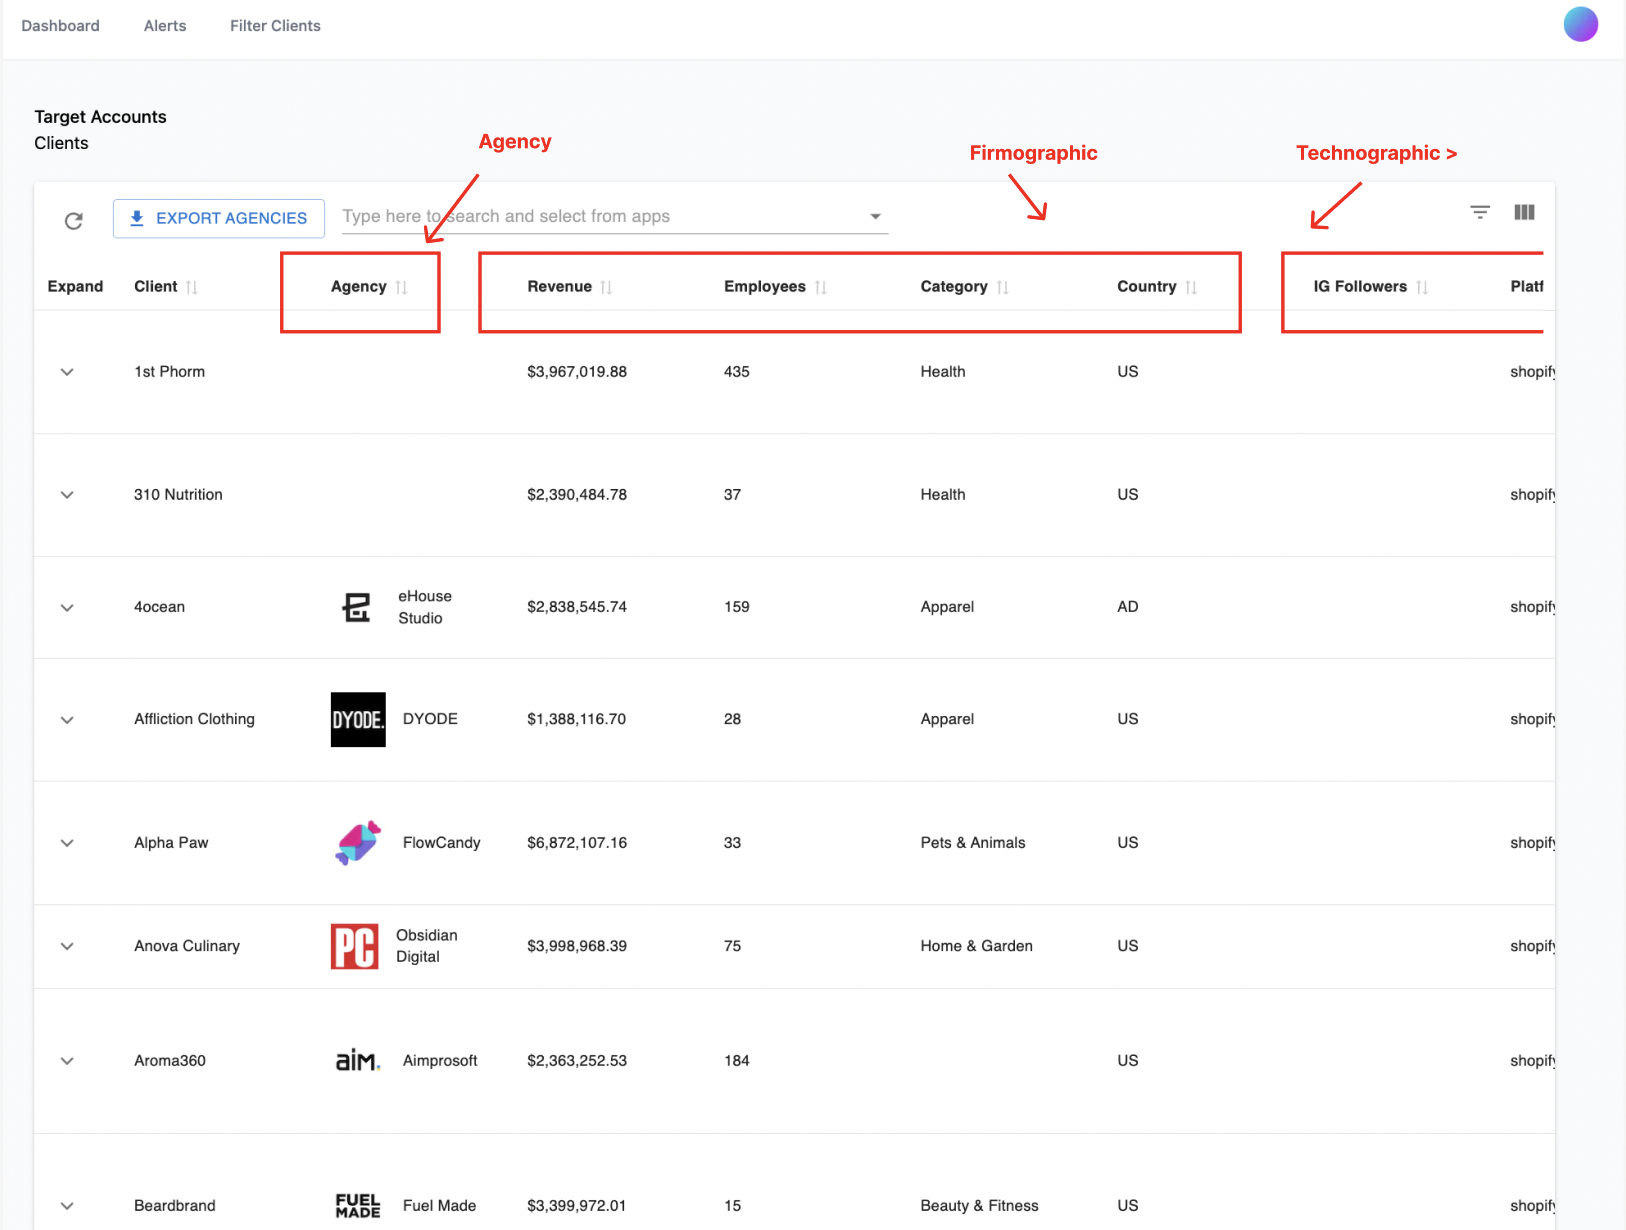
- Agency data - do we have an agency they work with in the database?
- Firmographic data
- Monthly Revenue
- Employee Count
- Category
- Country
- Technographic data
- Platform
- Technology used
- Reviews
- CX
- Loyalty
- ESP
- Subscription
- Shipping
- Analytics
The core use-case for this feature is that I have a list of target accounts and want to work with partners, whether technology or agency, to try and acquire them.
Here’s how to use it:
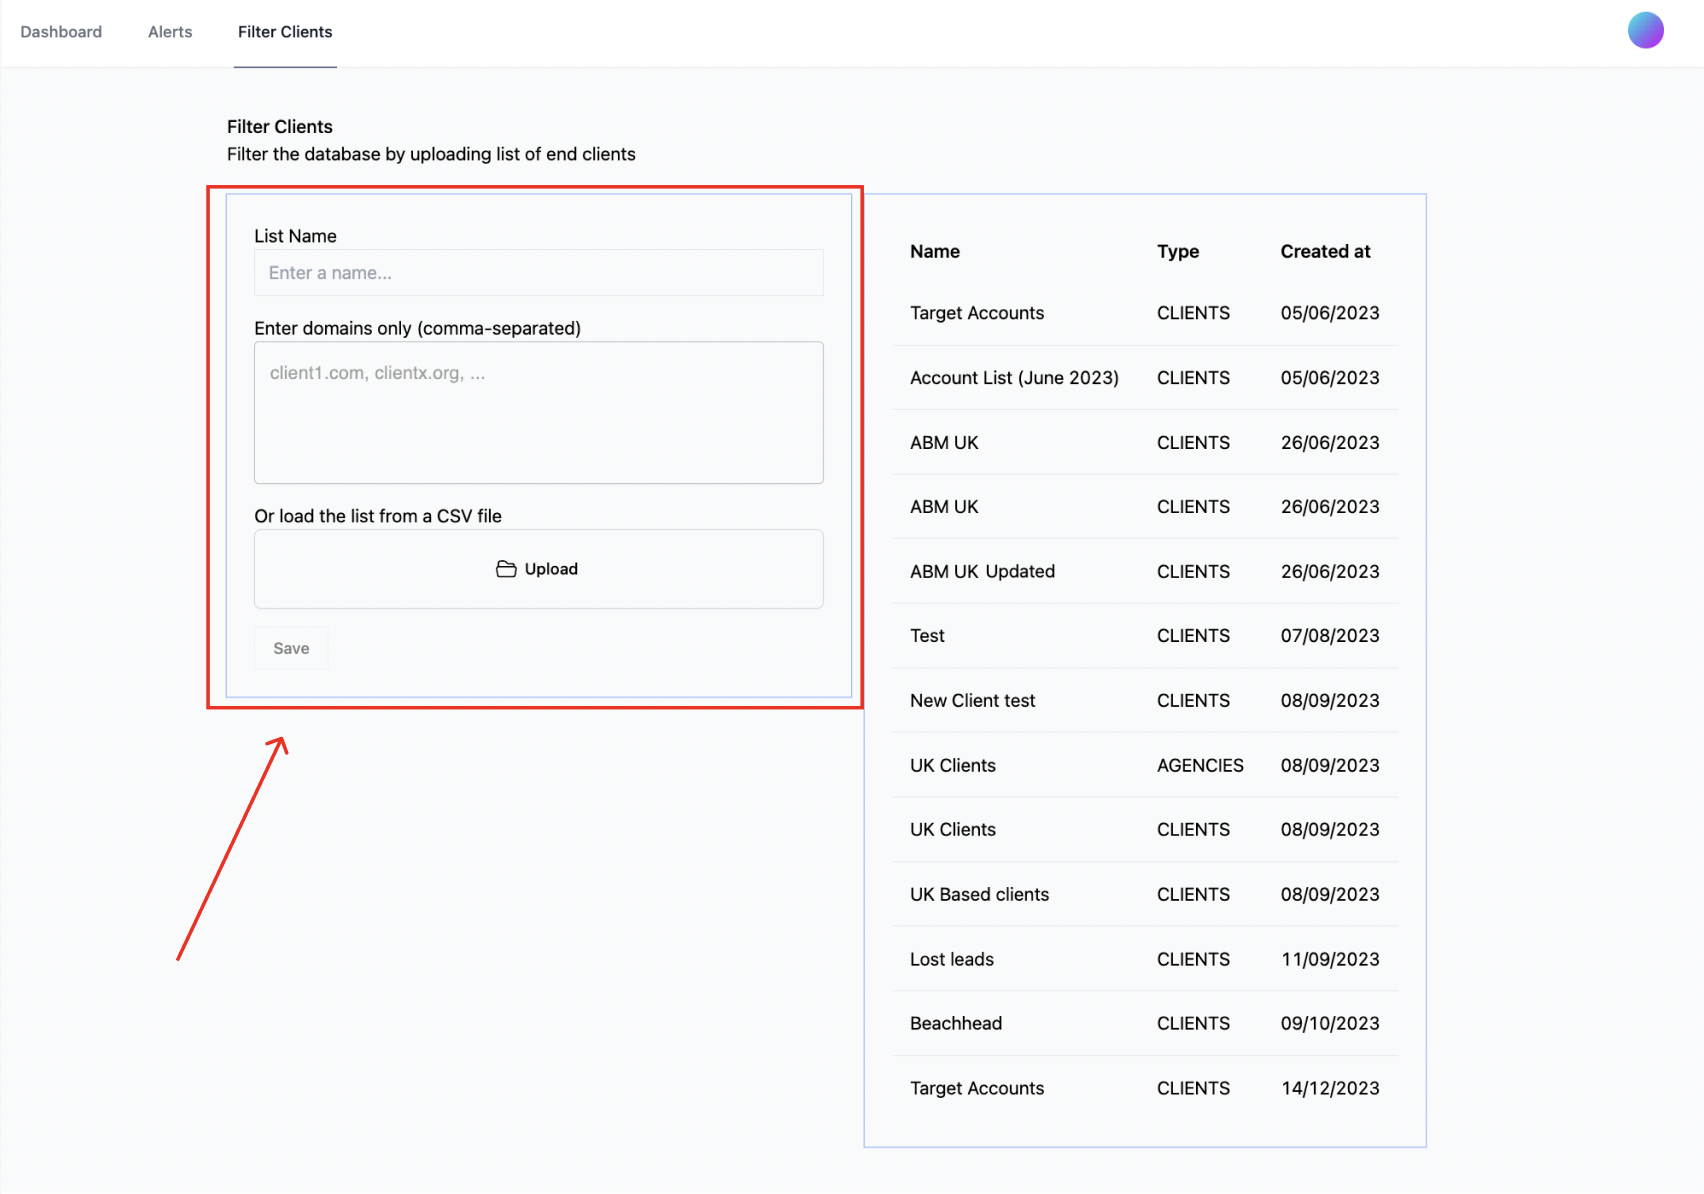
- Navigate to “Filter Clients” tab. Here you’ll see:
- Area to Upload new list
- Historic Uploads

- On the left you can choose to upload a CSV or comma-separated list of accounts.
- Note, currently the list is limited to 100 domains.
- When uploading the CSV, use one column, with no title cell (e.g A1 is “clients”). Upload only domains.
- Give the upload a name.
- Once uploaded, click “save”.
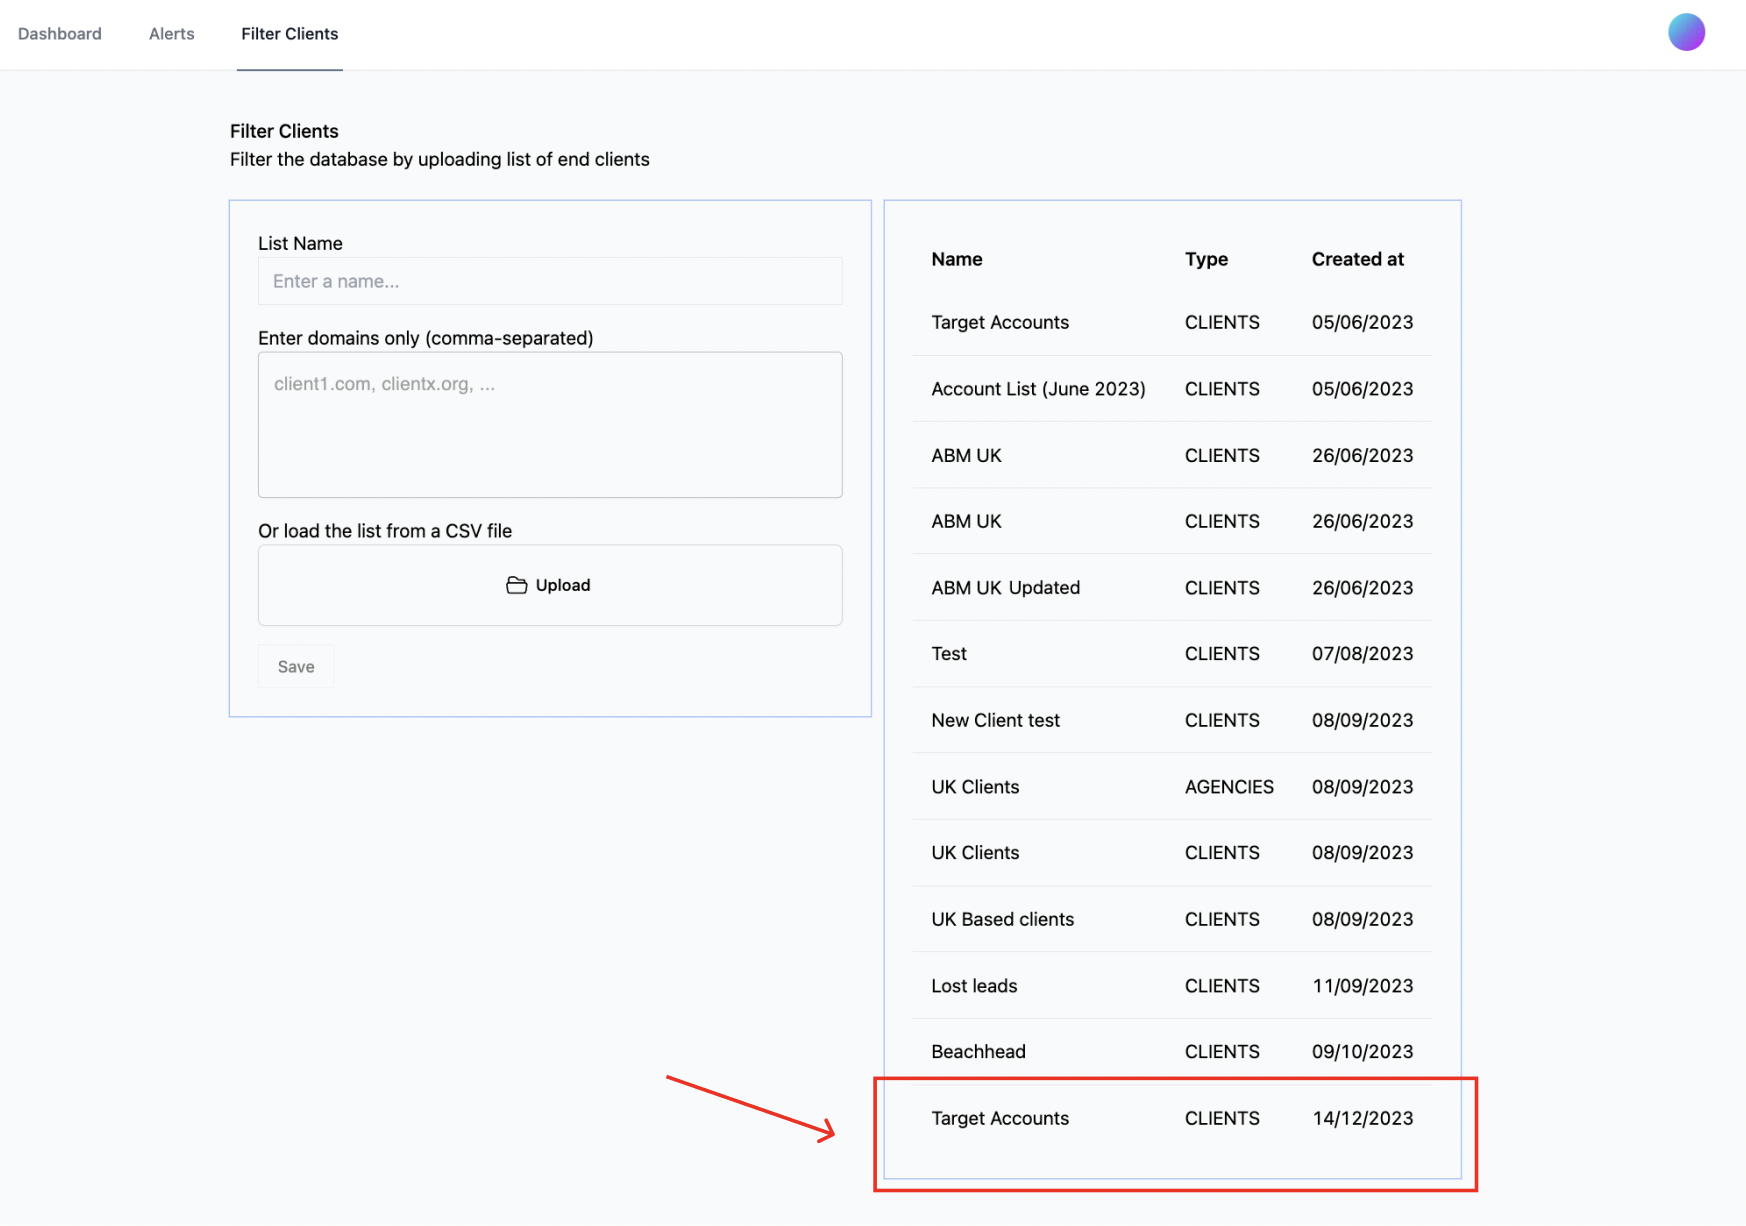
- Once a list is uploaded, it’ll appear at the bottom on the right hand side as the latest upload.
- Please allow 10-30 seconds for the list to upload depending on the size.
- Click on the latest upload.
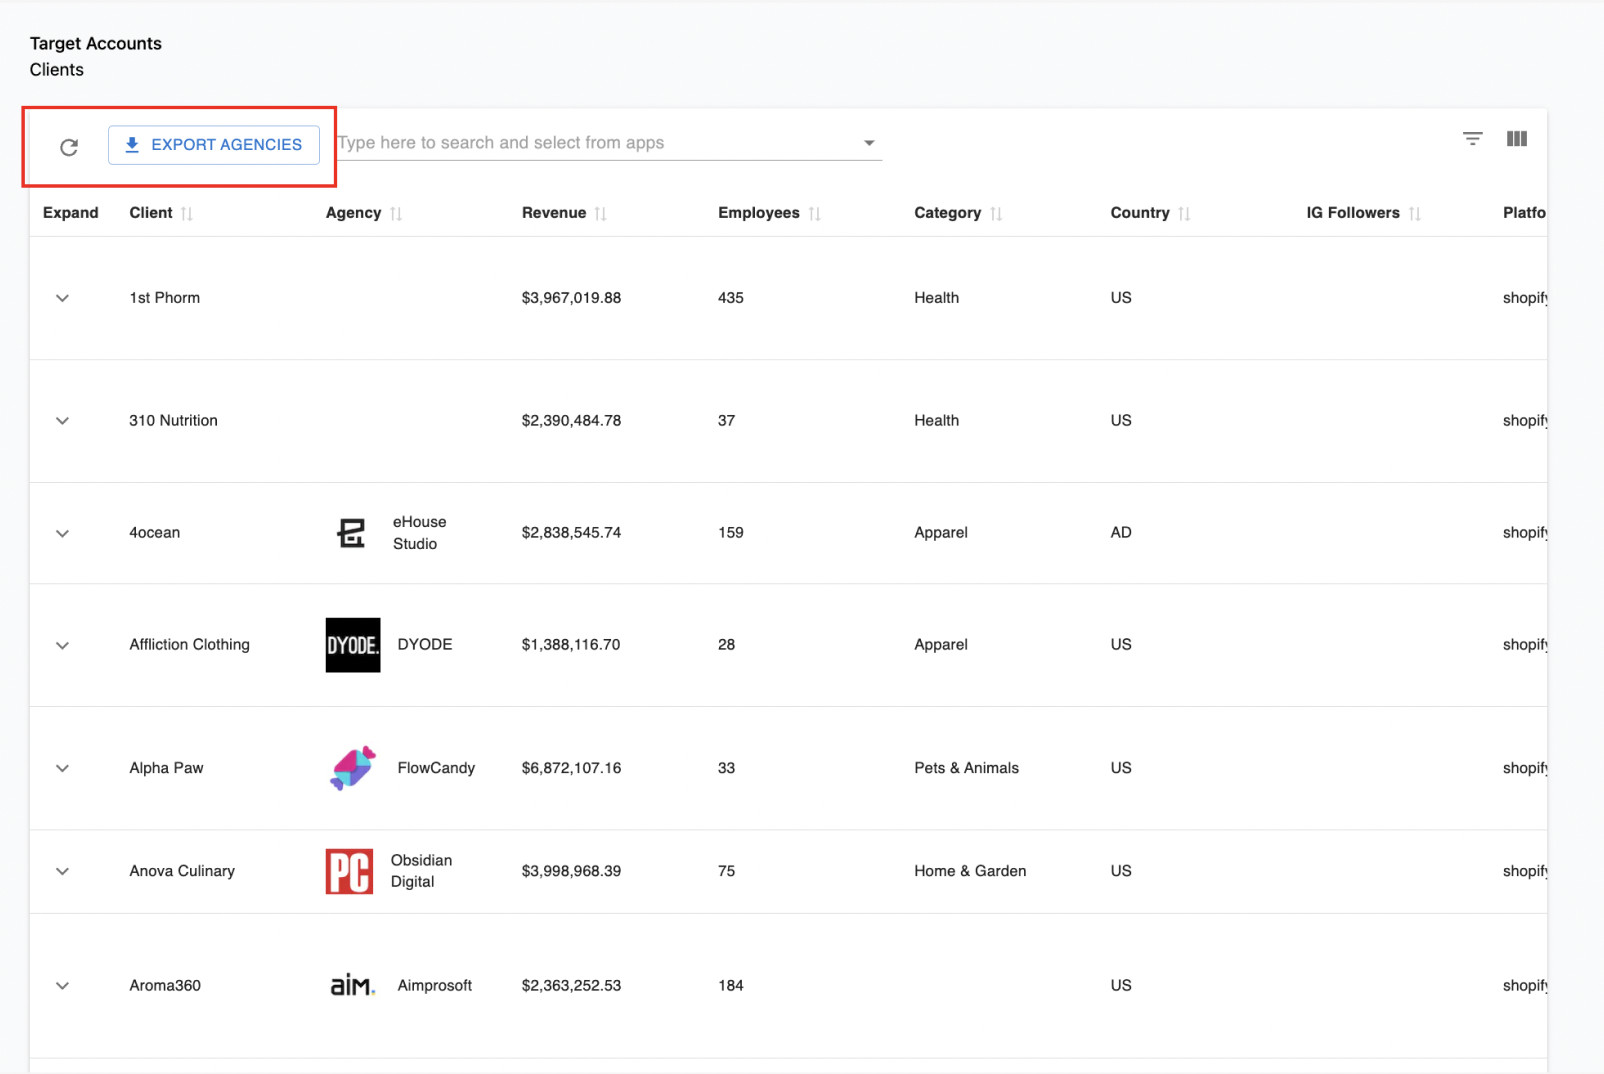
- You’ll now see which of the domains have the following data attached. Scroll left to right to reveal more columns of data:
- Agency
- Firmographic
- Technographic
-
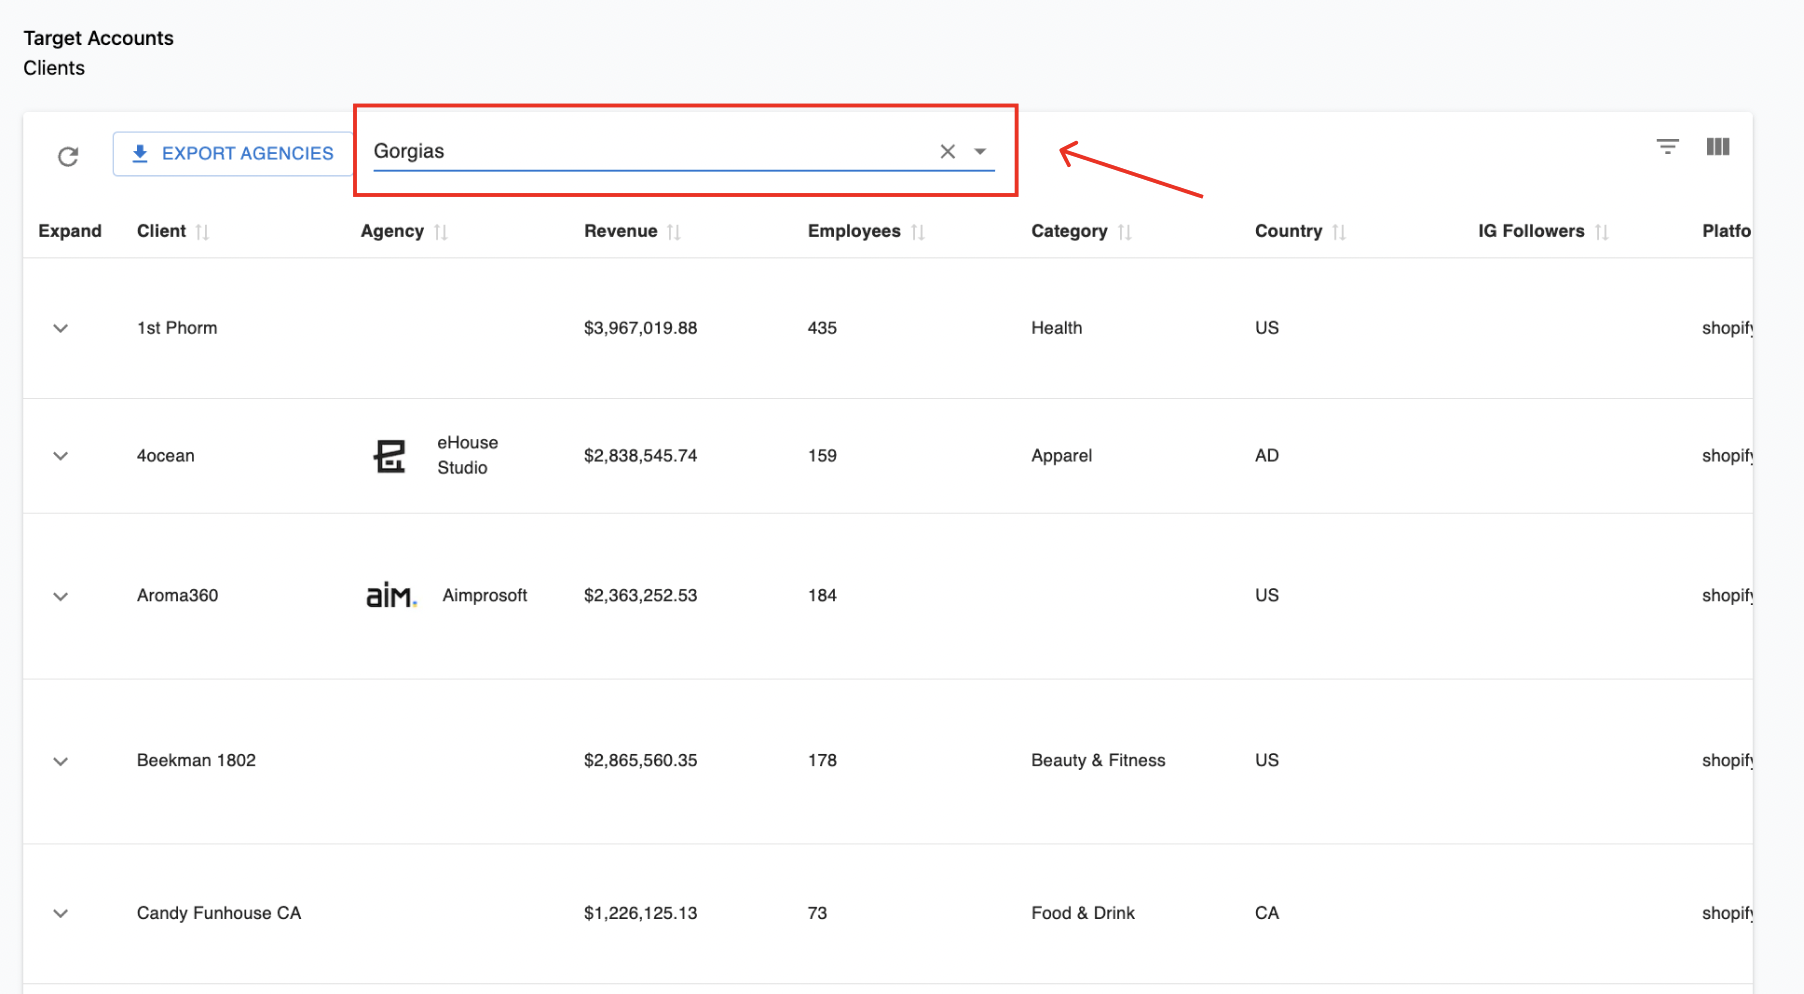
Depending on your use-case, you can use the search bar to filter the list against which apps the domains work with.
- For example, you can ask the following questions: Which of these domains works with our
{insert_tech_partner_name}? - For example, if I search for “Gorgias”, the list will filter into all clients that work with Gorgias that I can engage with their team on:
- For example, you can ask the following questions: Which of these domains works with our
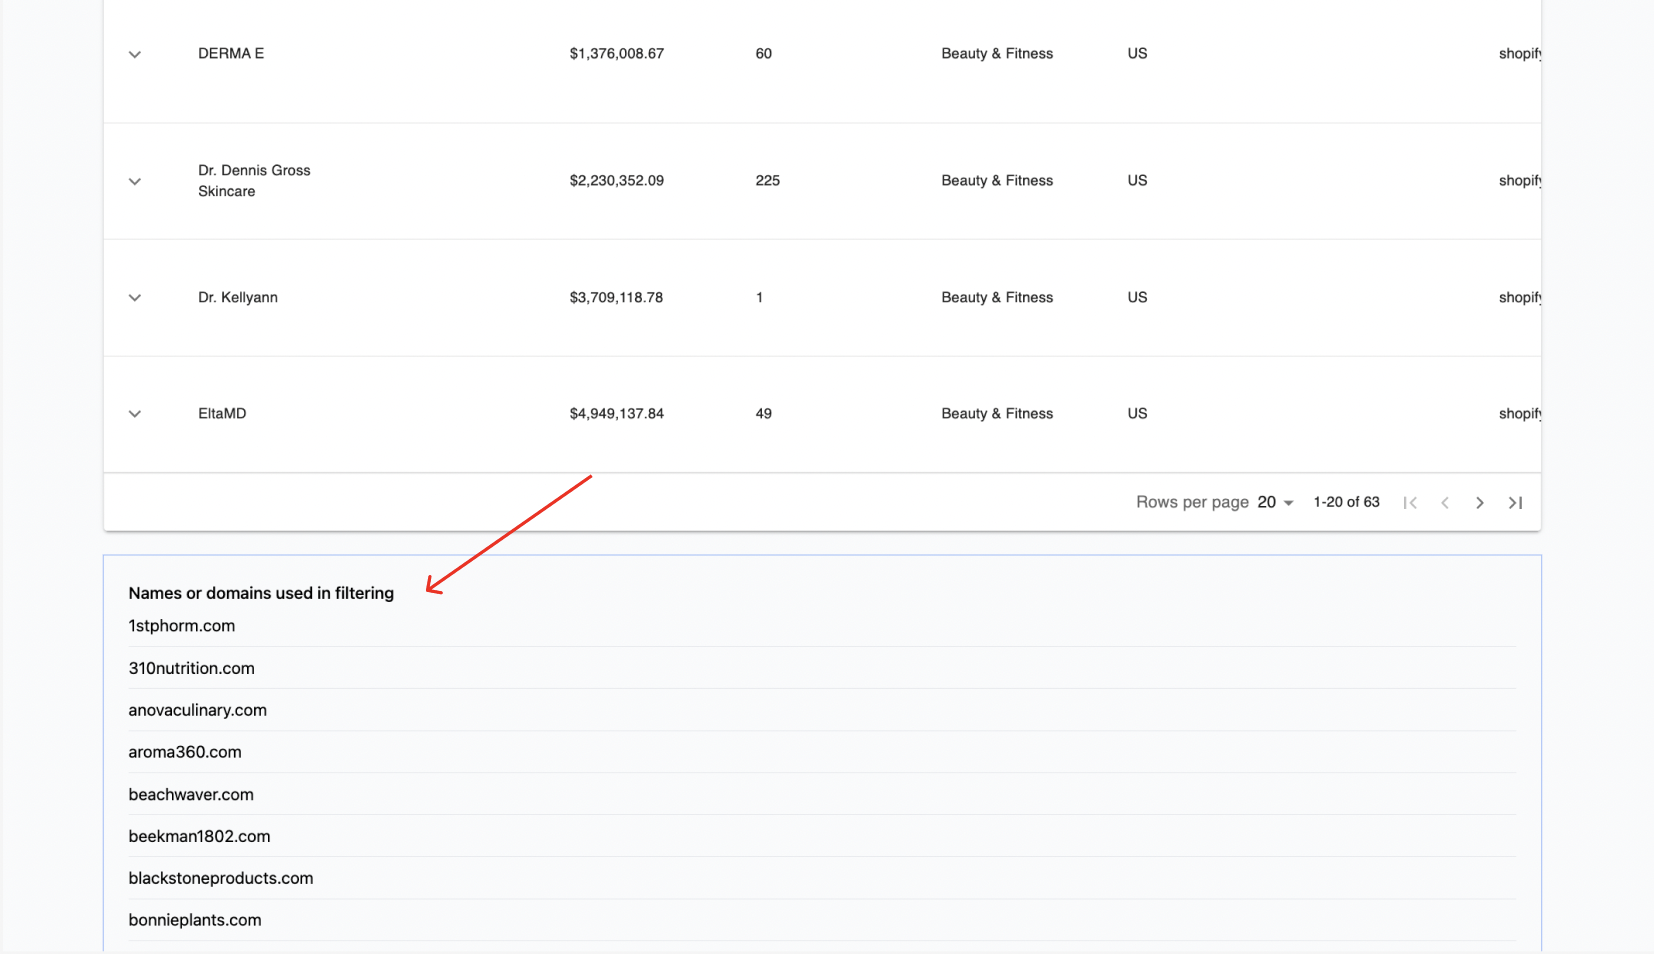
- You can also export all domains with all data attached.
- Under the enriched list, you’ll see a list of each individual domain uploaded for future reference.